Tag: print sizes

  • How to resize your printable art images in less than 60 seconds (at print quality)

    How to resize your printable art images in less than 60 seconds (at print quality)

    Cropping your art into more ratios means more sizes to sell and more chances at a sale, but for each ratio, you cut the crop by hand, get the framing right, save the file, and rename it, and that adds up fast. Printprep.art cycles through every popular ratio, so you approve each crop in seconds. It sends every crop straight into the mockup tool, so you never save a single file yourself.

    Why one crop does not cover every ratio

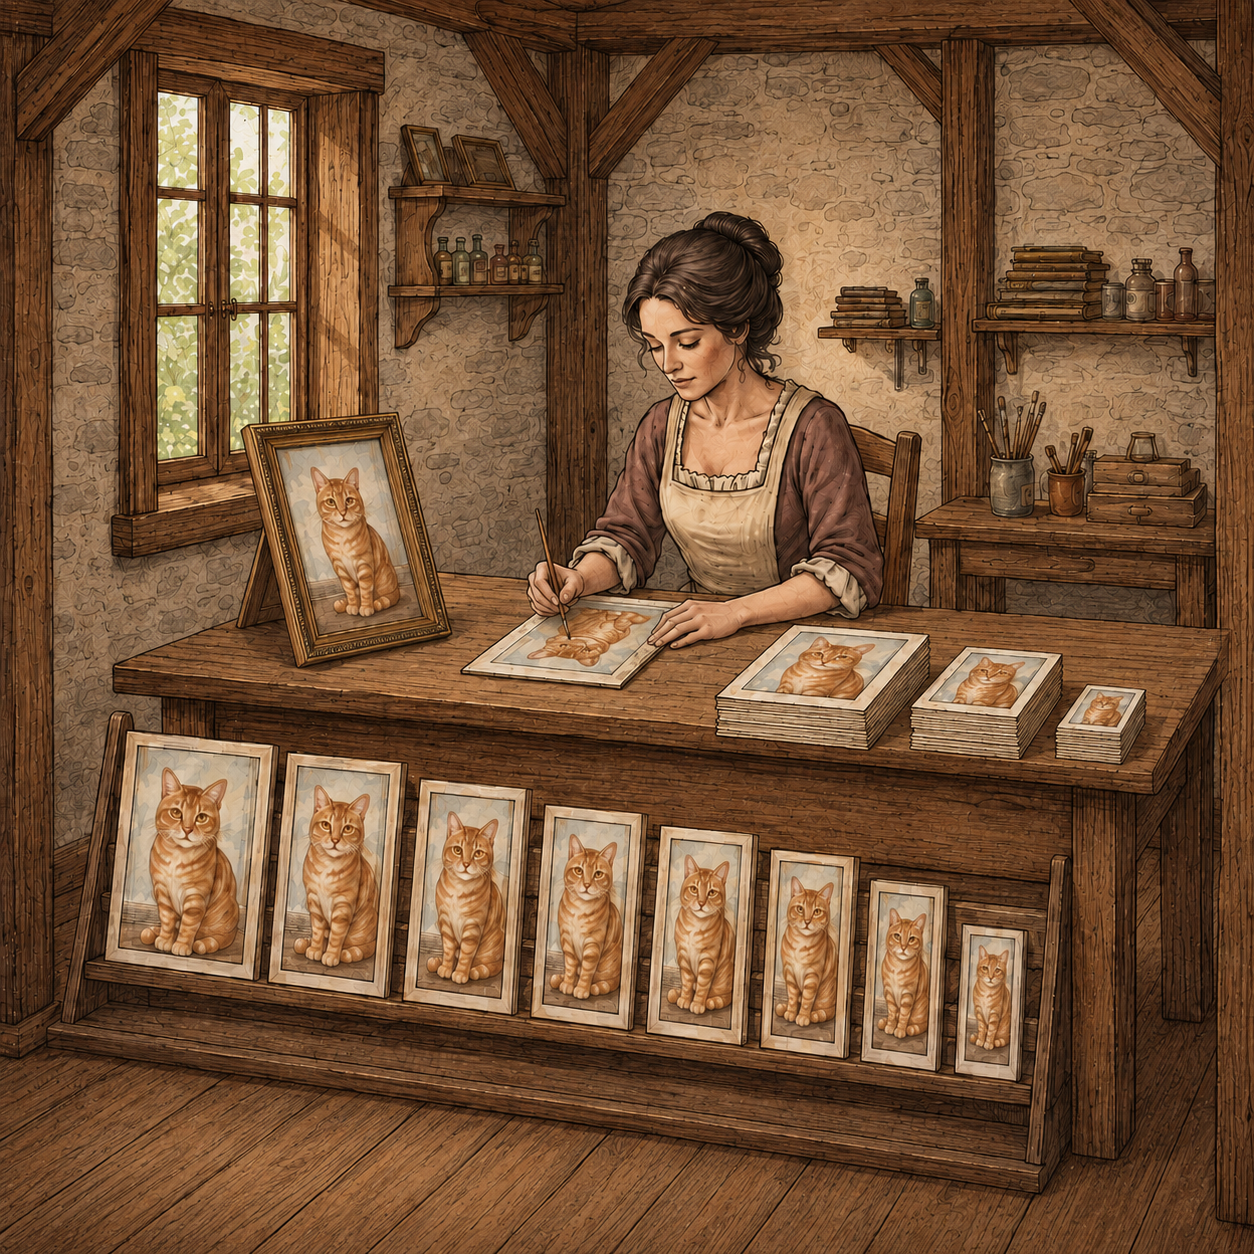
    A crop you make for a 2:3 portrait does not fit a 4:5 or a 1:1 square without moving the crop box again, because the frame shape changes.

    A floral illustration, cropped two ways

    Say your design is a tall floral illustration with the bouquet centered in the upper third. Crop it to 2:3 portrait and that framing looks intentional.

    Crop the same file to 1:1 square without adjusting anything, and the crop box pushes the bouquet to one edge, or slices the stems off entirely. A square frame samples a completely different slice of the image than a portrait crop does.

    What that costs you by hand

    Sellers who prep by hand in Photoshop usually reposition the art once per ratio, then repeat that same move for every new design they list. That means checking the composition and adjusting the zoom until the subject reads correctly again, every single time.

    The fix: crop settings that remember themselves

    Printprep.art saves your crop position, zoom level, and background color as a separate record for each ratio, tied to that specific artwork. Set up your 2:3 portrait once: position the crop box, pick a background color if the art needs padding, choose your sizes.

    That configuration stays exactly as you left it. Move to 1:1 square and start fresh there too, without disturbing what you already set for portrait.

    The next time you reopen that same artwork, whether it is five minutes later or three weeks later, every ratio you touched loads back exactly how you left it. Nothing resets, and nothing makes you re-decide a crop you already got right.

    Spend more time on art and less on art preparation tasks.

    What this looks like start to finish

    • Portrait, landscape, and square each live in their own catalog inside the crop tool, so a portrait ratio like 2:3 never gets mixed into the same size list as a landscape ratio like 3:2. You are always choosing sizes from the right shape family.
    • Printprep.art selects Bestseller and Popular sizes by default in every ratio, so you are not researching which of dozens of possible dimensions is worth your time before you even start cropping.
    • Printprep.art saves your crop position, zoom, and background color per ratio, and pre-fills all of it the next time you open that artwork.

    From digital file to printable art Etsy listing in 10 minutes.

    You’re spending 1-2 hours on prep for every listing. We handle the tedious parts so you can list more art for sale.

    Prep your next design once, not five times.
  • Is your file actually 300 DPI? (How to tell before a buyer complains)

    Is your file actually 300 DPI? (How to tell before a buyer complains)

    What you think you know about 300 DPI is probably wrong, and that is not your fault. The same explanation gets copied from blog to blog, repeated by sellers and print shops alike, and nobody ever stops to check if it is actually true. There is one word you need to know before any of this makes sense, and once you know it, the rest falls into place.

    That word you need to know about 300 DPI is upscaling. Once you understand what it actually does to a file, “300 DPI” stops being a mystery and starts being something you can check for yourself.

    What upscaling actually does

    Upscaling adds real detail to a file. It works in small increments, painting in new pixel information instead of just stretching the pixels that are already there.

    That is how a file can reach true 300 DPI at a size its original pixel count could never cover on its own, and why the result still resolves sharply even up close, not just from across the room.

    There is only so much of that an image can take before it has effectively been repainted from scratch. In practice, that ceiling sits around 16x magnification.

    See it in action

    150x150px source. The largest reliable result: 12×12 Wall Art, 8×8 Photo and Fine Art, 16×16 Banner.

    150x150 pixel source photo next to the Printprep.art result showing the largest reliable print size

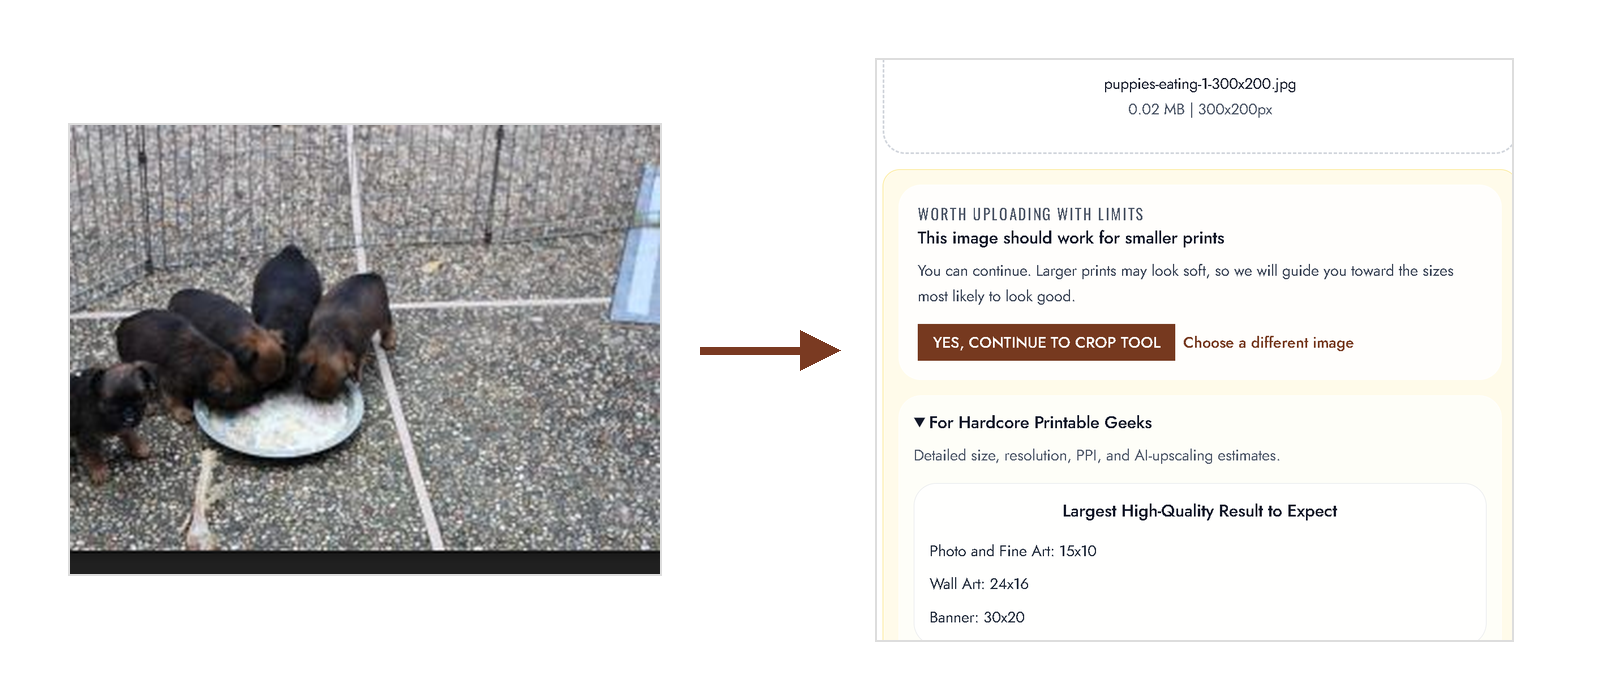
    300x200px source. The largest reliable result: 24×16 Wall Art, 15×10 Photo and Fine Art, 30×20 Banner.

    300x200 pixel source photo next to the Printprep.art result showing the largest reliable print size

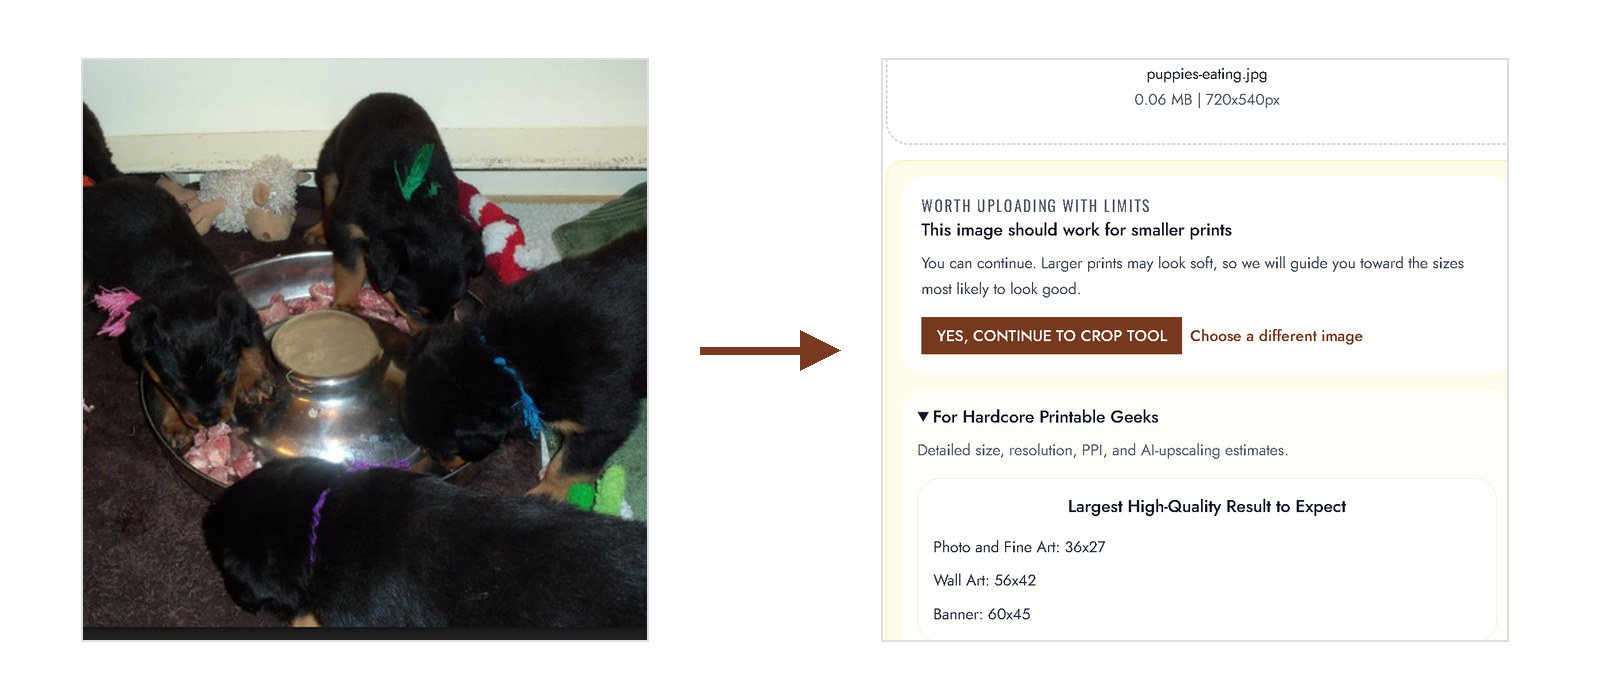
    720x540px source. The largest reliable result: 56×42 Wall Art, 36×27 Photo and Fine Art, 60×45 Banner.

    720x540 pixel source photo next to the Printprep.art result showing the largest reliable print size

    What upsizing does instead

    Upsizing is what a plain resize in a tool like Photoshop does. It relies on interpolation methods like nearest neighbor, which look at one pixel, measure the distance to the next, and stretch the space between them.

    It is not adding detail. It is only spreading the same detail thinner.

    You still get an output this way. It is just not as good as upscaling, which resolves real detail instead of guessing at it.

    Take that method far enough and the flaw becomes obvious. Resize a small image to cover a wall from floor to ceiling, and each pixel gets stretched into a big, blocky square you can see with the naked eye.

    It looks fine from across the room. It never resolves up close.

    What 300 DPI actually means

    The same file can be 300 DPI at one size and 150 DPI at double that size, because DPI measures pixels per inch at a specific print dimension, not a property baked into the file itself.

    The math, worked out

    Take a file that is 3000 by 3000 pixels. Print it at 10×10 inches and you get exactly 300 pixels per inch: true 300 DPI.

    Print that same file at 20×20 inches without changing a single pixel, and now only 150 pixels cover each inch. The file didn’t get worse; the job you’re asking it to do got bigger.

    The file didn’t get worse. The job you’re asking it to do got bigger.

    Start with your original file, not an already-upsized one

    Printprep.art operates on the trust that your uploaded file has not already been upsized somewhere else. If it has, the process starts on the wrong foot before a single crop is made.

    Upload the largest file that still represents the true, original resolution of your work. An already-upsized file carries pixels that are already stretched larger than they should be, and that softens and mutes the sharpness of the final output.

    How Printprep.art shows you the real number

    Printprep.art shows this size by size in the crop tool, before you generate a single file. Each size carries a DPI badge showing the native resolution at that size, alongside a separate badge showing the calculated DPI you would get by sending that size through the AI upscaler instead.

    You see the real number for a 16×24 print next to the real number for a 24×36 print from the same file, so you know exactly where quality starts to drop before you commit an artwork slot to it. Color coding here communicates confidence, not a hard pass or fail.

    A size below 300 DPI is not automatically a bad print. It depends on the art, the size, and how close a buyer stands to view it, so Printprep.art shows you the real number for every size instead of stopping you from generating one that falls short.

    When a file reaches 300 DPI through a real AI upscale instead of a simple resize, Printprep.art calls that true 300 DPI, powered by the same Topaz upscaling technology sellers would otherwise pay for separately.

    When lower than 300 DPI is still fine

    Not every size needs to hit 300 DPI to sell well. Where that bar can flex depends on what you are printing and how closely a buyer will look at it:

    • Fine art: viewers put their nose right up to the glass, so a true 300 DPI upscaled file needs to hold up at that distance. You might get away with 290 DPI, but that close, it’s a guess.
    • Standard wall art: viewers are typically about four feet away, not close enough to spot heavily augmented pixels from the upscale. Even dropping to 250 DPI on an illustration, it will still look sharp to the casual observer.
    • Banners and large format: viewers are far away, at a conference or on a billboard, so pixelation stops being a concern and you can go even larger.

    Before you spend an artwork slot, think about the type of art you are uploading and decide whether true 300 DPI is achievable through upscaling, or whether dropping to 250 DPI works fine for what you need.

    See the true DPI for every size before you spend an artwork slot on it.

  • 5 print ratios Etsy users actually buy

    5 print ratios Etsy users actually buy

    Buyers search for printable art in different ways. Some type an exact size, or an exact ratio, and some search by shape like square or portrait. That split is exactly why prepping one large file per ratio works: a single file at the largest achievable high resolution in that ratio can satisfy a buyer searching for any smaller size in the same ratio, not just the exact size of your original artwork.

    The Bestseller, Popular, Low Demand, and Very Low Demand tiers in Printprep.art’s crop tool come from research across 21 print-on-demand, framing, and art-selling sites, plus Etsy sales and keyword data through tools like EverBee and Alura, not a guess about what feels popular. Offer the largest size in a ratio and you are covering the popular sizes buyers actually search for in that ratio, without digging through spreadsheets yourself.

    The 5 ratios, ranked by bestseller sizes

    Printprep.art classifies every print size into four demand tiers: Bestseller, Popular, Low Demand, and Very Low Demand. Bestseller sizes are the ones that show up again and again across that research as what buyers actually order.

    Very Low Demand sizes stay in the catalog because a handful of sellers ask for them, not because they move real volume. Ranking each ratio by how many of its individual sizes carry the Bestseller tier shows where real demand concentrates, and the gap between the top ratios and the bottom ones is not small.

    1. 2:3 portrait: 4×6, 8×12, 12×18, 16×24, 20×30, 24×36
    2. 1:1 square: 8×8, 10×10, 12×12, 16×16, 20×20, 24×24
    3. 3:4 portrait: 9×12, 12×16, 18×24, 30×40
    4. 3:2 landscape: 6×4, 18×12, 36×24
    5. 4:5 portrait: 8×10, 16×20
    RatioBestseller sizes
    2:3 portrait6
    1:1 square6
    3:4 portrait4
    3:2 landscape3
    4:5 portrait2

    2:3 and 1:1 tie for the widest bestseller spread, six sizes each.

    If you only prep two ratios for a new design, these are the two with the least guesswork: a 2:3 crop covers everything from a small 4×6 gift print up to a 24×36 statement poster, and a 1:1 square covers a similar range in a shape that works over a desk, on a gallery wall, or stacked with other squares in a grid.

    Why this matters for how you prep

    Printprep.art shows Bestseller and Popular sizes by default in the crop tool, so you do not need to research any of this yourself before you list a new design.

    One file covers more sizes than you’d think

    A file upscaled to true 300 DPI at 24×36 for a 2:3 listing does not need a second, separate file for a buyer who wants the same art at 16×24. The larger file already carries enough pixel density to print sharp at the smaller size too, since a smaller print only draws on a fraction of those pixels per inch.

    That is why Printprep.art recommends prepping the largest size in a ratio that reaches true 300 DPI and letting the buyer print smaller from the same file, rather than generating a separate upscaled file for every size in between. It is why the sizes above lead with the biggest bestseller dimension in each ratio.

    One file to manage per ratio, instead of six.

    From digital file to printable art Etsy listing in 10 minutes.

    Spend more time on art and less on art preparation tasks.

    Prep your next design in the ratios buyers are already ordering.

  • What is the difference between A4 and U.S. paper size? (A huge increase in potential buyers)

    What is the difference between A4 and U.S. paper size? (A huge increase in potential buyers)

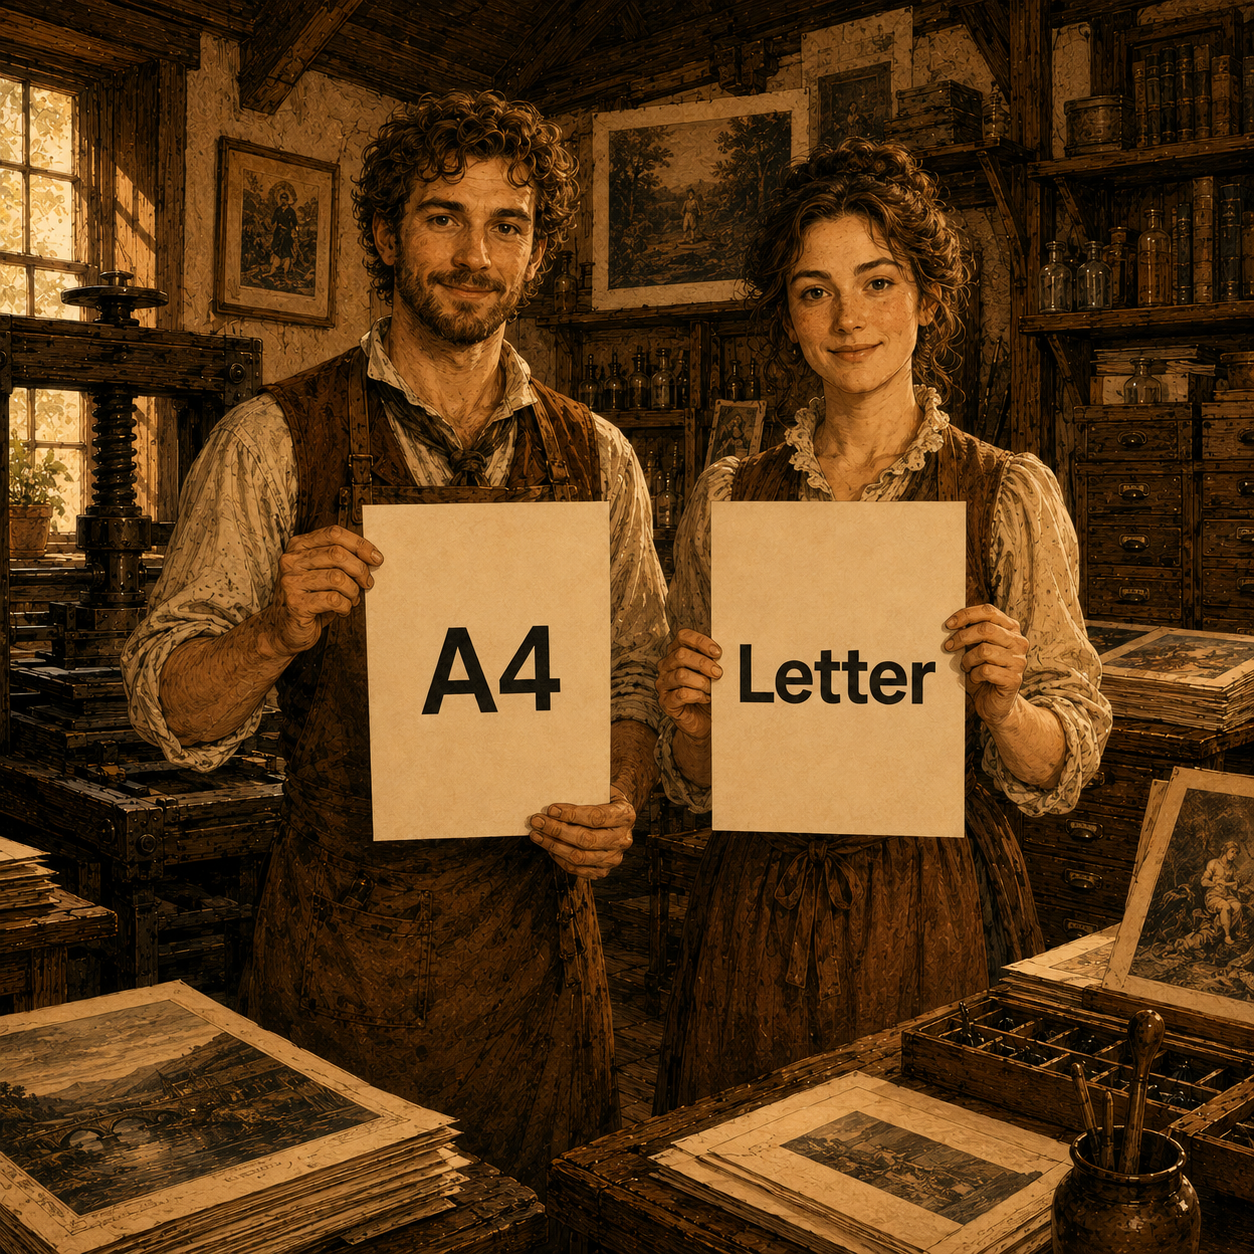
    A buyer in London, Berlin, or Sydney does not search Etsy for “8×10 printable art.” She searches for A4.

    If your listing only offers inch sizes, you are invisible to that search, even though your art would fit her frame perfectly.

    Why A-Series is not just a different unit

    US print sizes like 8×10 and 16×20 are inch-based and do not convert evenly to millimeters.

    The conversion doesn’t round cleanly

    Convert 8×10 inches to millimeters and you get 203 by 254, not a clean number a frame manufacturer would ever stock. Convert A4 to inches and you get 8.27 by 11.69, an awkward fraction no US framer carries either.

    SizeInchesMillimeters
    US 8×108 × 10 in203 × 254 mm
    ISO A48.27 × 11.69 in210 × 297 mm

    The ISO A-Series (A4, A3, A2, and so on) is metric-canonical instead: A4 is 210 by 297 millimeters, A3 is 297 by 420, and each size up doubles the previous one’s area.

    Close is not the same as correct

    Neither system rounds cleanly into the other. A seller who only preps inch sizes is not offering an approximation of A4; they are offering a size that will not fit an A4 frame at all.

    A buyer shopping with a metric frame in hand is looking for those exact numbers, not an inch size that happens to be close.

    Close is not the same as correct.

    Which A-Series sizes actually sell

    Printprep.art classifies A-Series sizes into the same demand tiers as every other ratio, built from research across dozens of print-on-demand and framing sites.

    • Bestseller: A4 (210×297mm) and A3 (297×420mm)
    • Popular: A5 (148×210mm), A2 (420×594mm), and A1 (594×841mm)
    • Low demand: A6 and A0
    • Very low demand: A7

    A4 and A3 alone cover most of the international demand you would otherwise miss by only prepping inch sizes. A5, A2, and A1 add coverage for a buyer who wants something smaller for a shelf or bigger for a statement wall, without pushing your default selection into the very-low-demand end of the catalog.

    For the search-volume and listing data behind these tiers, see what is A3, and why should you sell the whole A-Series.

    How Printprep.art preps both catalogs from one file

    Portrait, landscape, square, and A-Series live as separate catalogs in the crop tool, so an A4 crop never fights an 8×10 crop for the same frame position. You set up your A-Series crop the same way you would set up any other ratio: position the art, choose a background color if padding is needed.

    Printprep.art remembers your A-Series crop separately from your inch-based crops on the same artwork. It also selects Bestseller and Popular A-Series sizes by default, the same way it does for inch sizes, so you never have to research millimeter conversions yourself.

    Prep your next printable art listing with A4 and A3 already selected, no calculator required.

  • What print sizes sell best on Etsy? (Sell the sizes buyers want to buy)

    What print sizes sell best on Etsy? (Sell the sizes buyers want to buy)

    Buyer demand for printable art doesn’t spread evenly across every size you could offer. It concentrates in a short list: a handful of classic portrait ratios, one square lineup, and two A-Series paper sizes for international buyers. Everything else barely sells.

    You know how printable art prep steals the joy from making art? Part of that theft is guesswork over sizes. Printprep.art is a printable art studio. It transforms an art file into a complete Etsy listing in about 10 minutes, using the sizes buyers actually order. You get back the joy of making art, instead of guessing at crop dimensions.

    The research behind the sizes

    Printprep.art classifies every offered size into four demand tiers: Bestseller, Popular, Low Demand, and Very Low Demand. The classification comes from real buyer-demand research, not a guess about what feels popular. The tiers tell you where to spend your prep work and where you’re wasting it.

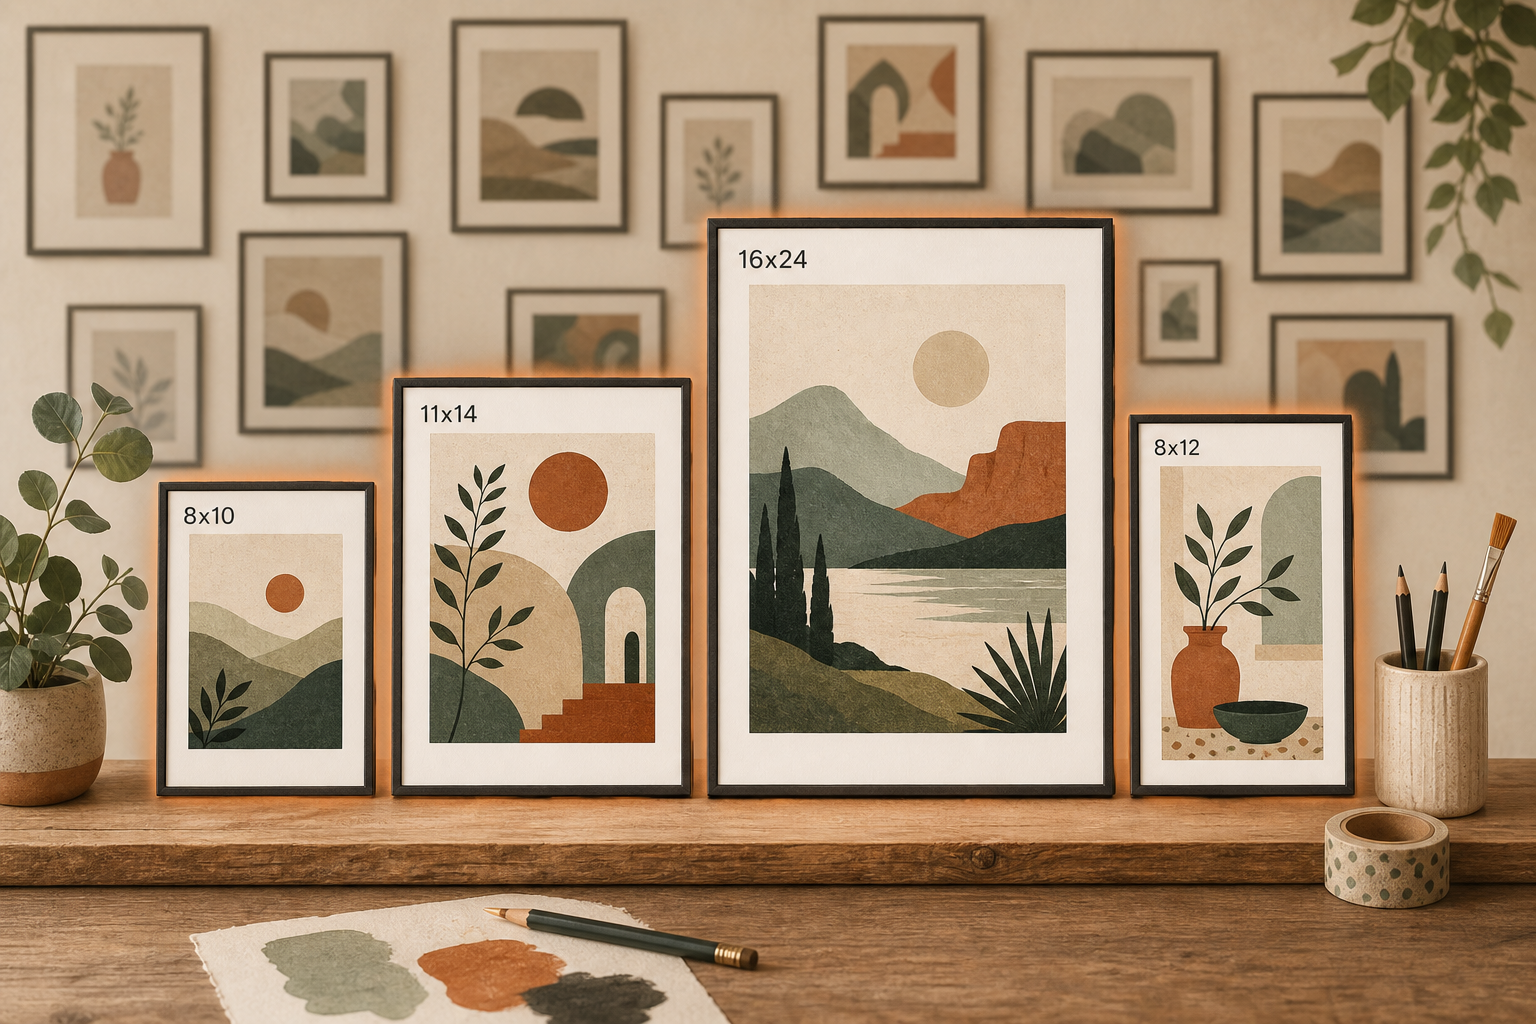
    A gallery wall of framed art prints in varied sizes, a few glowing warm in the foreground while many more fade into shadow behind them
    Buyer demand doesn’t spread evenly across every possible size. It concentrates in a short list of Bestseller and Popular sizes, while the rest barely sell.

    Where the bestseller demand concentrates

    Across every ratio Printprep.art offers, the sizes that actually sell come down to this:

    Orientation Ratio Bestseller sizes
    Portrait 2:3 4×6, 8×12, 12×18, 16×24, 20×30, 24×36
    Portrait 3:4 9×12, 12×16, 18×24, 30×40
    Portrait 4:5 8×10, 16×20
    Portrait 5:7 5×7
    Portrait Letter / near-Letter 8.5×11, 11×14, 11×17
    Landscape 3:2 6×4, 18×12, 36×24
    Landscape 4:3 24×18, 40×30
    Landscape 5:4 10×8, 20×16
    Square 1:1 8×8, 10×10, 12×12, 16×16, 20×20, 24×24

    If you only crop one ratio for a new design, 2:3 carries the widest bestseller range, from a small 4×6 print up to a 24×36 poster. Landscape isn’t a mirror of portrait. It has its own shorter list, and square sits in a lane of its own.

    What about international buyers?

    A4 and A3 are Bestseller sizes in both portrait and landscape orientation. If you sell to buyers outside the US, those two A-Series sizes cover most of that demand on their own. You don’t need the full A-Series lineup in your default crop.

    For listings that need a large-format international option, Printprep.art also supports A0 at 841×1189 mm in portrait and 1189×841 mm in landscape. A0 is an optional Low Demand size, so it stays out of the default selection but is available whenever you want to offer it. A-Series files use exact ISO millimeter dimensions; inches are intentionally omitted.

    Popular sizes worth adding, once you’ve covered Bestseller

    A second tier, Popular, sells less often than Bestseller but still sells:

    • Portrait: 6×9, 10×15, 40×60
    • Landscape: 9×6, 15×10, 60×40

    Low Demand and Very Low Demand sizes exist in the catalog too. Most sellers can skip them entirely.

    What this means for your prep work

    Every maker deserves to spend her time creating, not preparing. Cropping eight sizes when two of them ever sell is prep work you didn’t need to do. Printprep.art shows Bestseller and Popular sizes by default in the crop tool for this exact reason. Low Demand, Very Low Demand, and Samsung TV Art sizes stay in an optional dropdown, so you only add them when you want them.

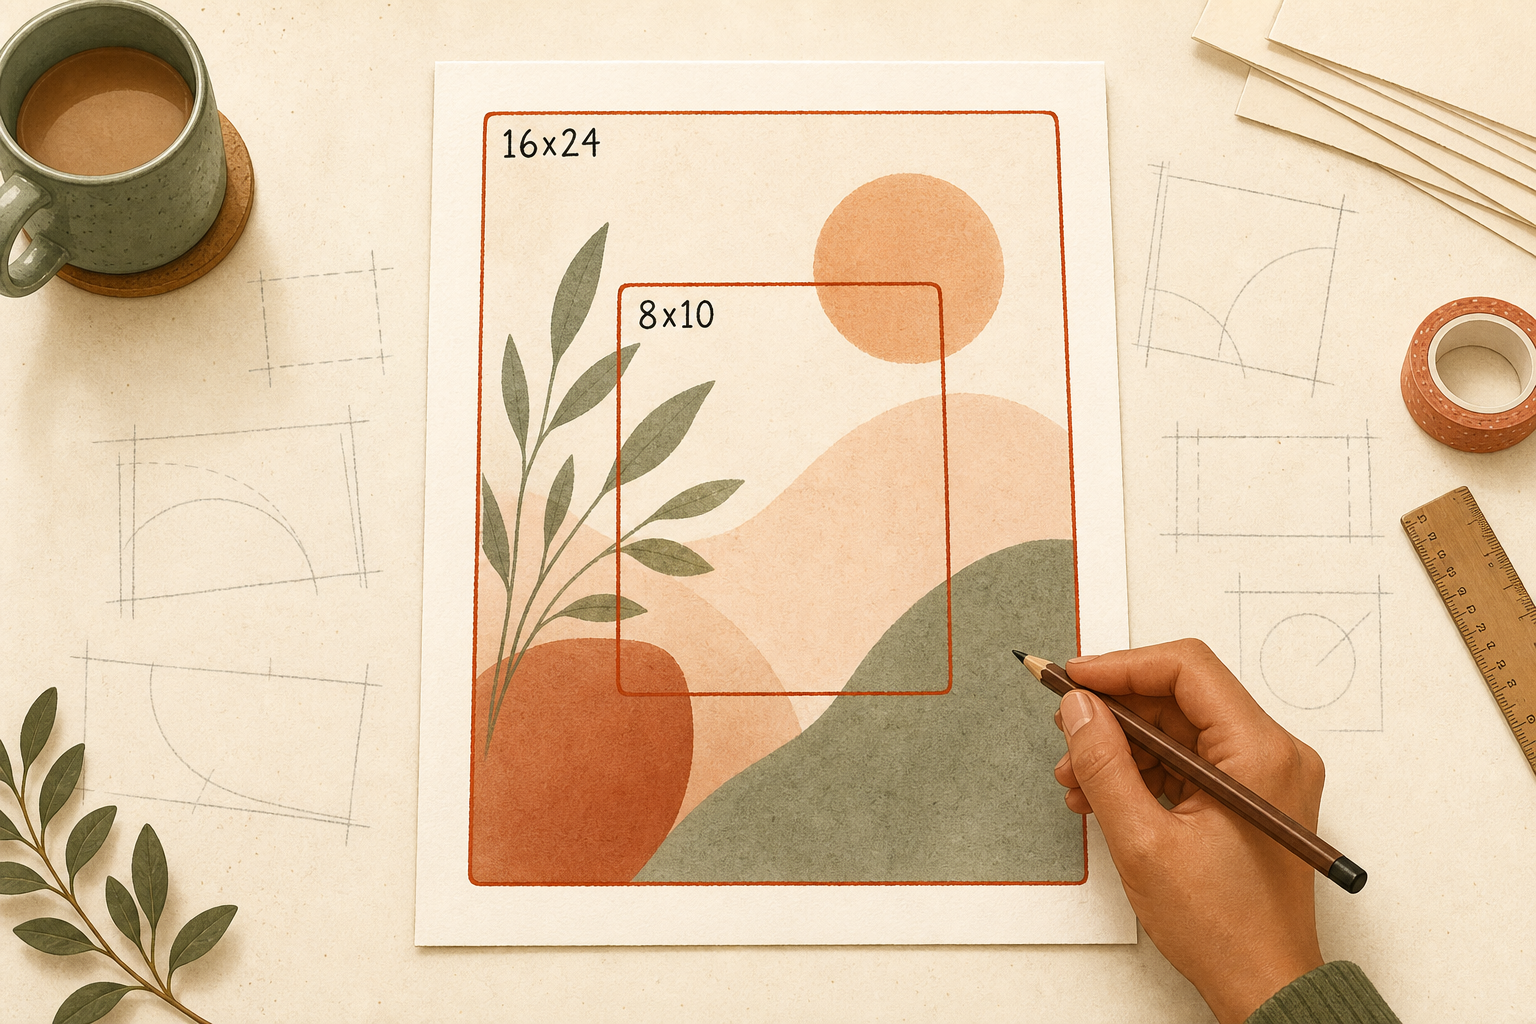
    An art print on a desk with two confident crop guide outlines drawn over it, while several faint unused crop sketches sit scattered around the edges
    Cropping eight sizes when only two of them ever sell is prep work you didn’t need to do. Printprep.art shows Bestseller and Popular sizes by default so you can skip the rest.

    Start with the Bestseller list for your ratio. Add Popular sizes if you want more price points. Skip the rest until a buyer specifically asks.

    Start your free account and crop your next design against real buyer demand instead of a guess.